
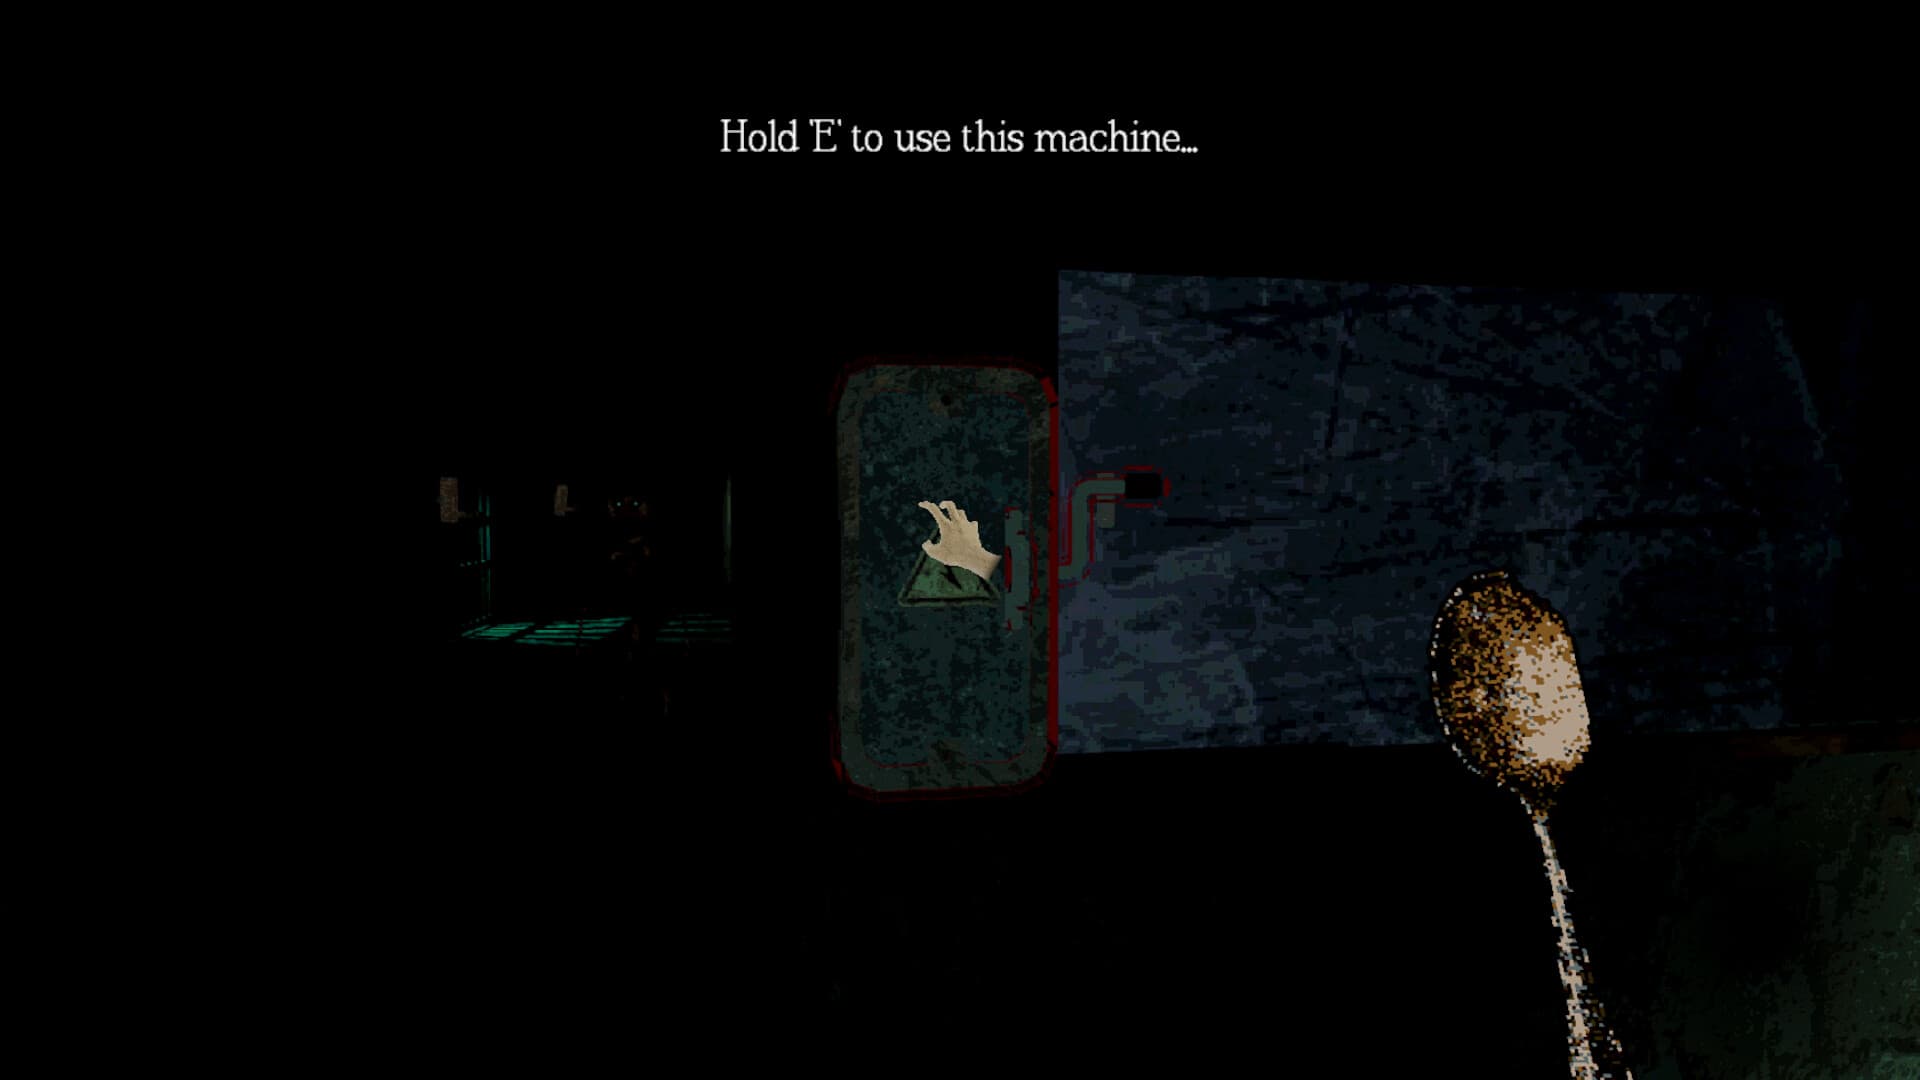
The central facility is the game’s largest navigation test. It looks like a maze, but its signs form a usable mental map. Anchor on Storage and Surface, then use Block A, Tools Storage, Radio Room, Freezer and Dumping Site Gate Control to identify branches.
How to avoid circular backtracking
Search every currently open room in one branch before retrying a locked door. Read nearby notes and inspect highlighted shelves, tables and containers. Progression often works as a loop: find a key or handle in an open branch, return to the matching locked/mechanical point, then use the newly opened room to obtain the next power item.
Dr. Cobo
The Dr. Cobo encounter sits on the main facility route in both checked launch runs. Complete the interaction and continue searching the adjoining rooms; do not treat the area as a dead-end lore scene. Highlighted art and small objects may be missable, but a verified 100% collectible count is not available yet.
Freezer and gate-control route
Use the room signs to keep the Freezer/medical side distinct from the gate-control objective. If a door only repeats that a key is required, leave it marked in your mental map and clear another open branch. The critical power chain eventually supplies the Uncharged Capacitor and sends you to the Battery Charge Station.
Before leaving the facility
Confirm that you have reset the charge station, charged the capacitor and installed the resulting power item where the route requires it. The newly powered/opened gate leads toward the red late-game tunnels.
This guide covers the released launch route. It does not turn incomplete collectible reports, Demo-only details or unverified fixes into confirmed instructions.